Easiest way to learn most beautiful and heart touching art courses and decoration courses online for free. Here you can learn different types of art and decorations as everyone wants to be a good artist so you are not very far to be an artist.
Sunday, 30 September 2018
Friday, 28 September 2018
Sunday, 23 September 2018
Saturday, 8 September 2018
School Art Work
1. Woven Watercolor Strips
Determine the width and length you want each strip of watercolor paper for the weaving to be. Give each student one strip and let them apply different watercolor techniques in the color palette of their choosing to their individual strip. Weave the strips tightly together and glue down onto a piece of black background to form this beautiful piece of art!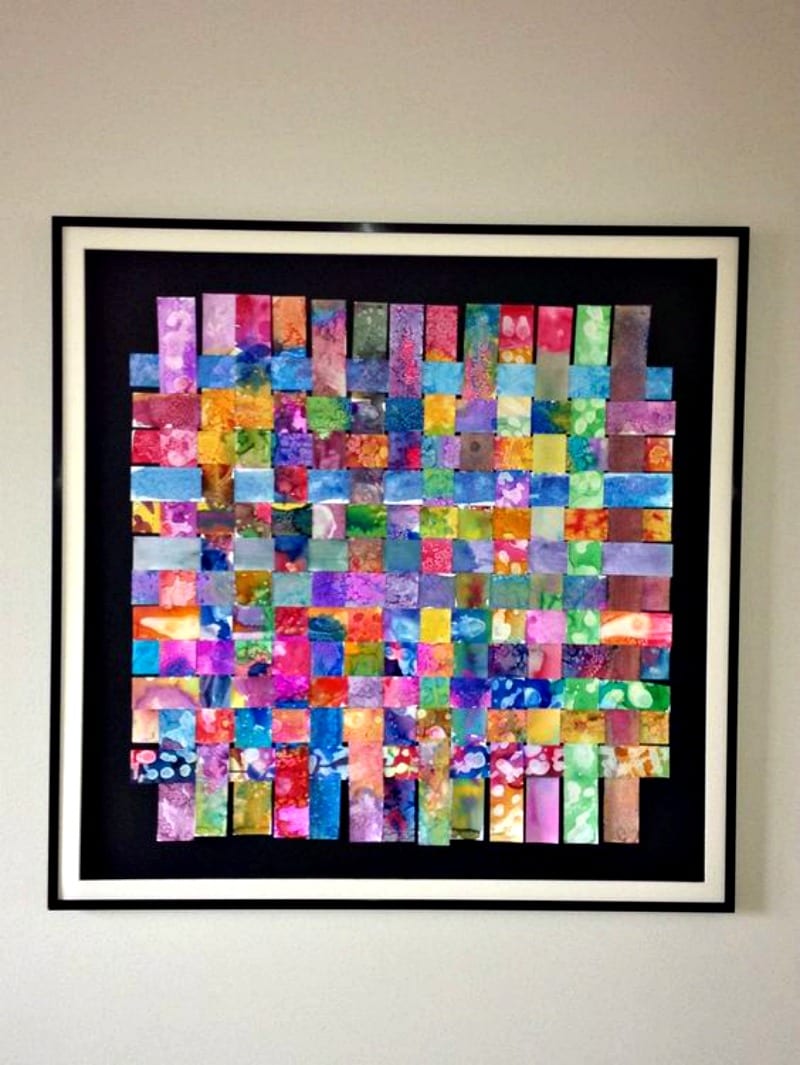
Source: Pinterest
2. Collaborative Circle Tapestry
Using a 3 inch circle of cardboard, yarn and a
needle, students will first create a loom structure and then weave yarn
in a circular pattern to create a unique and beautiful circle (see
detailed directions here.) String individual circle weavings together using twine attached to a dowel or interesting tree branch. 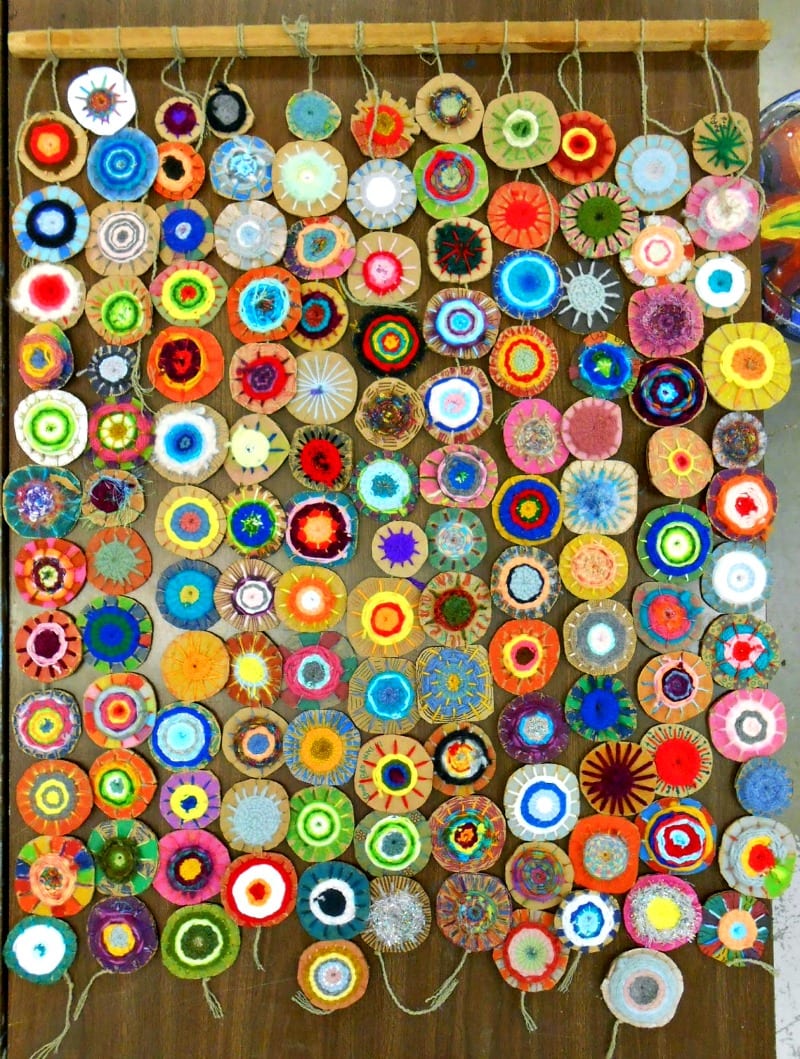
Source: Experiments in Art Education
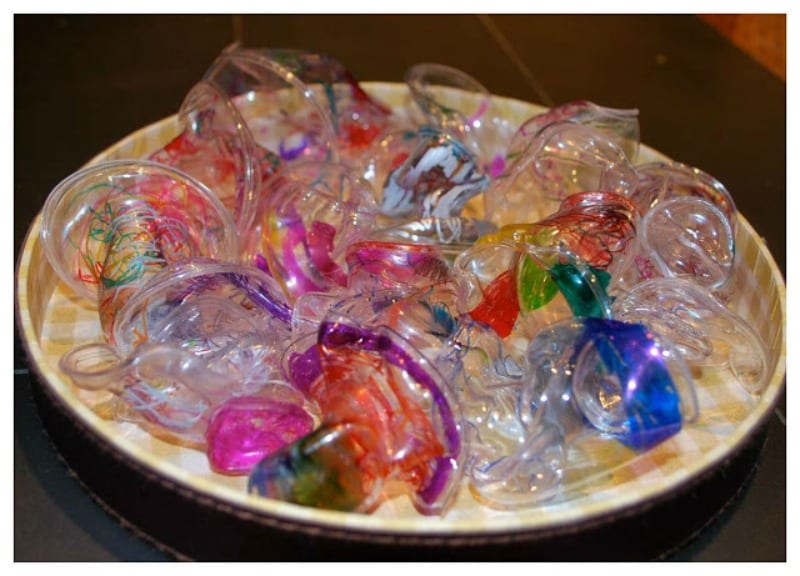
3. “Chihuly” sculptures
There are two different methods to creating these beautiful sculptures. The first one (directions here)
is constructed with coffee filter papers, water-based markers, paper
cups and a squirt bottle of water. The second one (directions here) is constructed with plastic disposable cups, Sharpie pens, and a toaster oven. 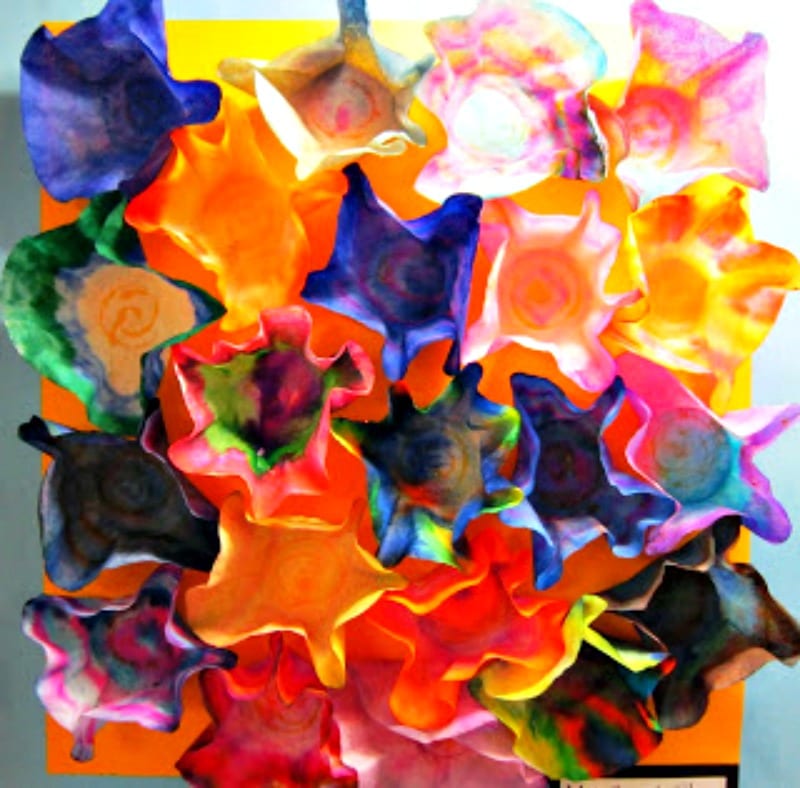
Source: Spot of Color
4. Popsicle Stick Collage
Give each student 4-6 large wooden popsicle
sticks to color in completely with colored Sharpie pens or tempera
paint. Encourage them to decorate each stick uniquely. After you have
collected all of the sticks, lay them out on a large foam board in a
checkerboard manner, experimenting with what you think looks best. When
you are satisfied with your design, glue down. Attach a hanger to the
back of the foam board. 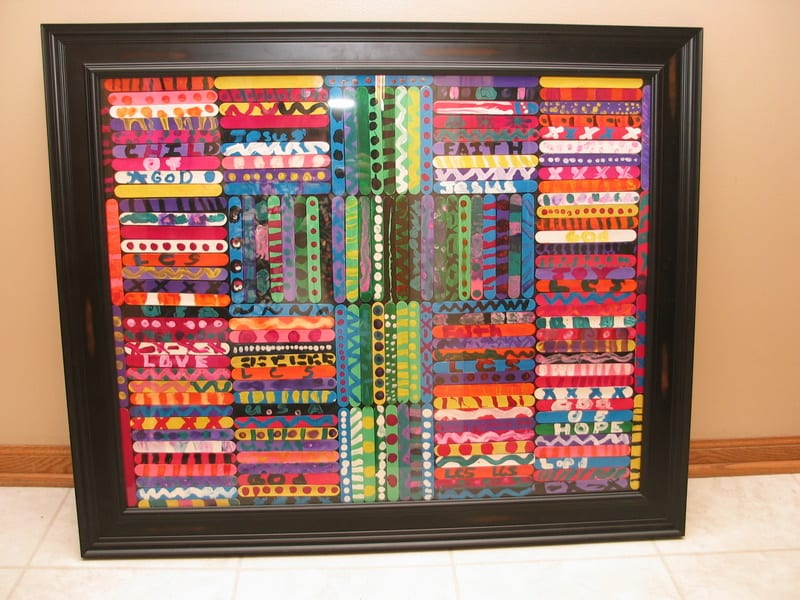
Source: Teaching Middle Level
5. Hand Hearts Photograph
You will need a good camera for this project.
Demonstrate for your students how to create the shape of a heart with
their hands. Provide a colorful piece of paper as a background for each
student to create their hand heart, then snap a photo. Mount all of the
students’ heart photos together with a crisp white mat surrounding
them, then frame. 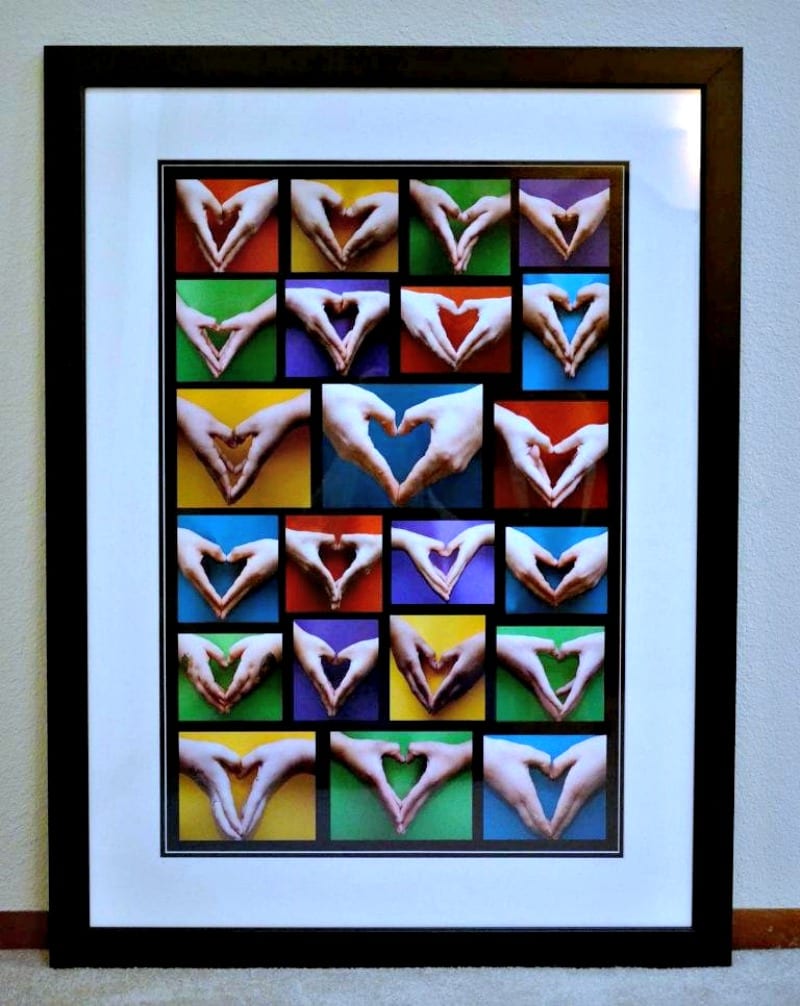
Source: Popsugar
6. Reach For the Stars Collage
Have each student trace from their hand up to
their elbow onto plain card stock (or pair them up to do it with a
partner.) Color and decorate, then cut out. Assemble all of the hands
onto a dark blue poster board, overlapping from the bottom-up as if they
were reaching to the sky. Glue different sizes of shimmering gold
stars at the top of the board. 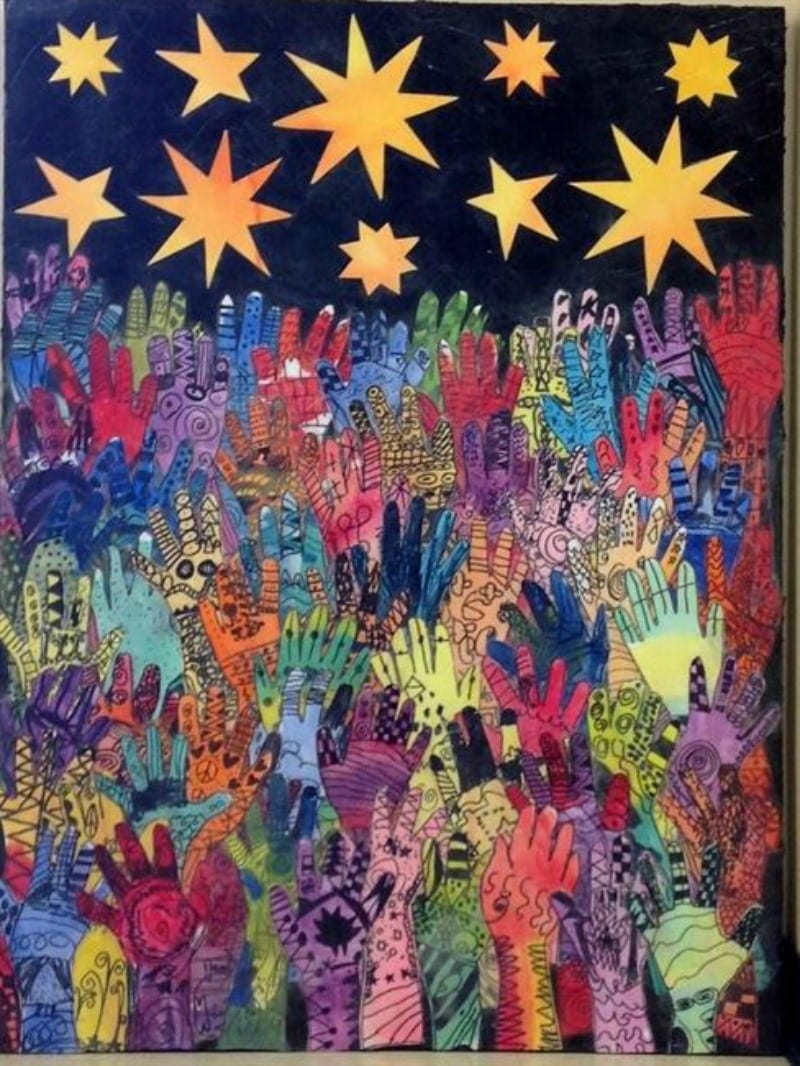
Source: Artsonia
7. Puzzle Pieces
Buy or have someone donate a puzzle with
relatively large pieces. Usually a preschool puzzle with 25-30 pieces
works well for this. Have students decorate the plain backside of each
piece with permanent markers. Encourage them to add lots of details.
When they are all colored in, spray all of the pieces with a shiny clear
topcoat of spray paint. Assemble the puzzle and mount to a piece of
cardboard or plywood. Attach hangers to the back or prop up on a
tabletop easel. 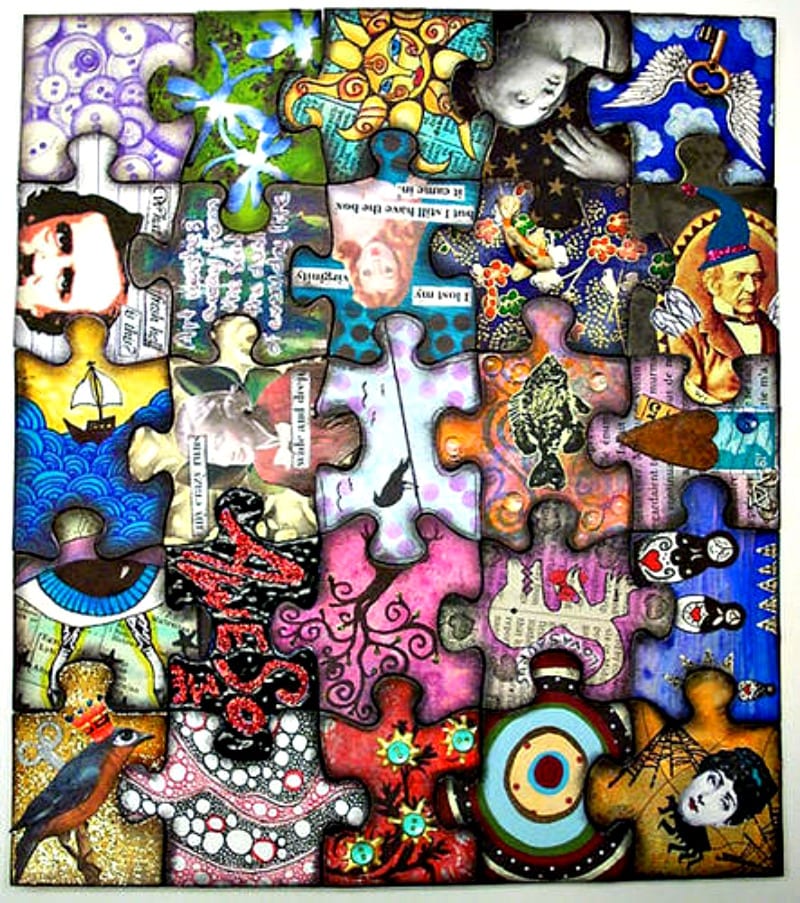
Source: Craftster
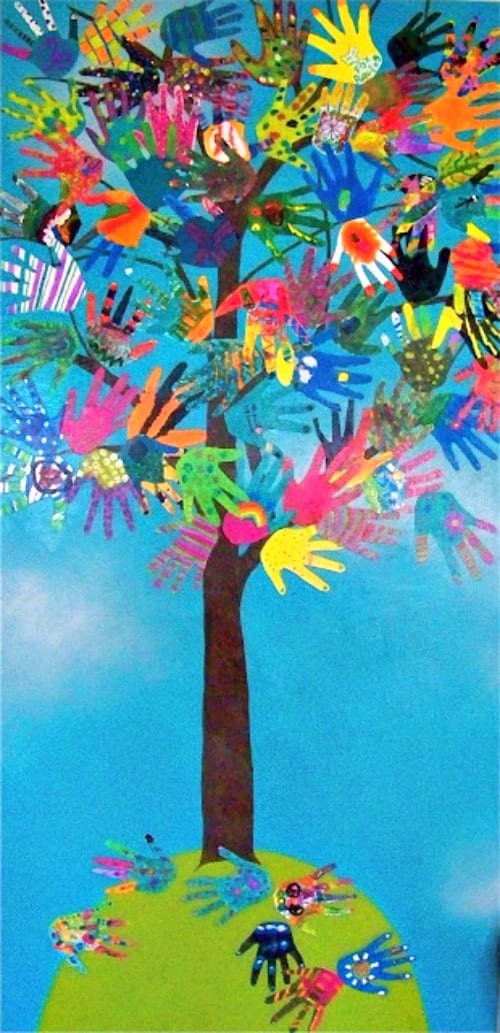
8. The Hand Tree
Another beautiful piece of art created by hand from Candice Ashment Art. Click here for full detailed directions.

9. Personalized Ceramic Bowl
There are many variations of this craft out
there. We like this version found on Pinterest that creates a whimsical
scene using students’ fingerprints. If you want your piece to be
professionally fired, you or a parent volunteer can arrange to borrow
the proper paints and markers, as well as buy your pottery piece, from a
Pots ‘n Paints type of business. After your students add their
contribution to the piece, you can return it to the shop to be fired. 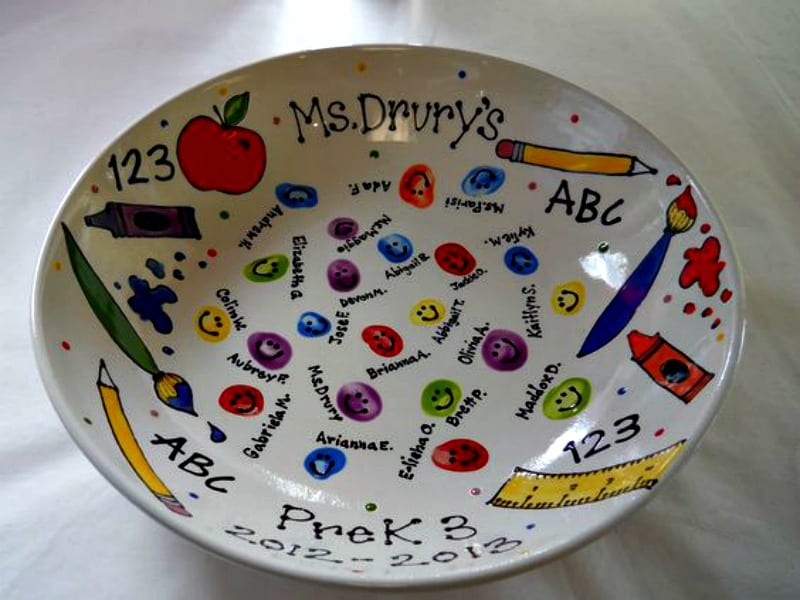
Source: Pinterest
10. Wall of Hearts
Using small stretched canvases, or blocks of
wood cut into uniform height and width, but varying depths, students can
paint their own design on a common theme (for example, hearts as shown
in the image). Other theme ideas: trees, shapes, first letters of each students first or last name, stars, emoji. 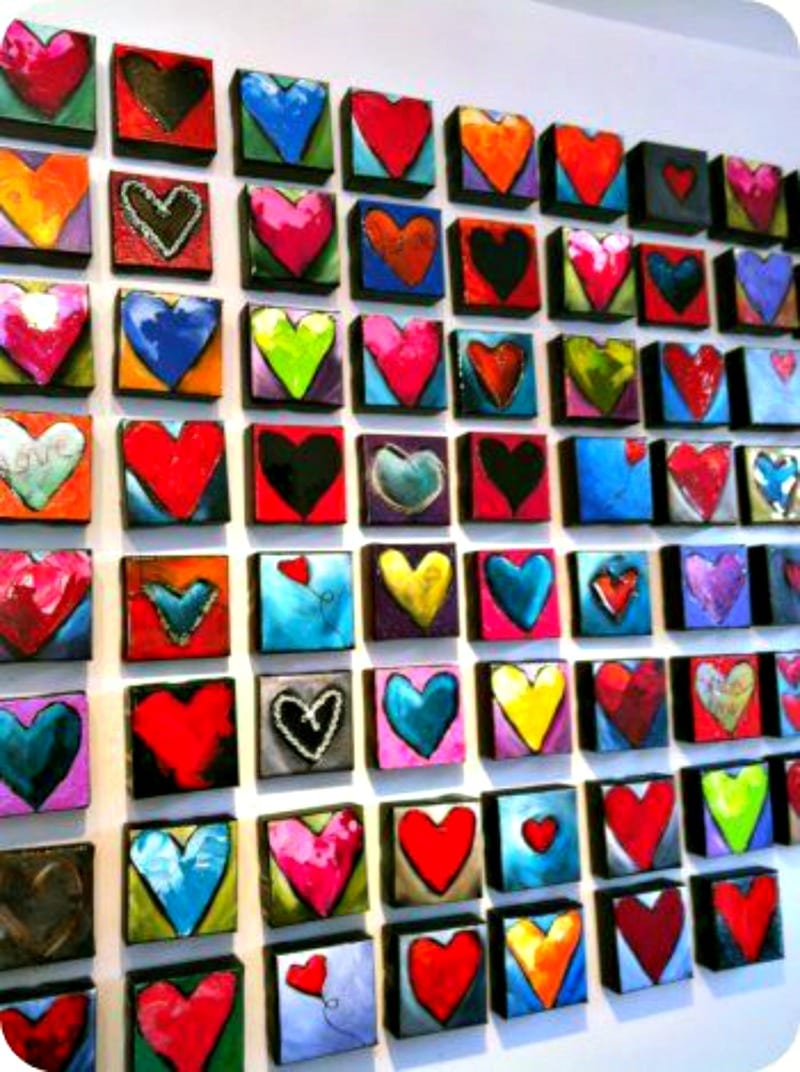
Source: OttawaStar
11. Tile Squares Table
This one requires a little legwork to find and
prepare just the right table base—a perfect job for a parent volunteer.
For project details, see step-by-step directions here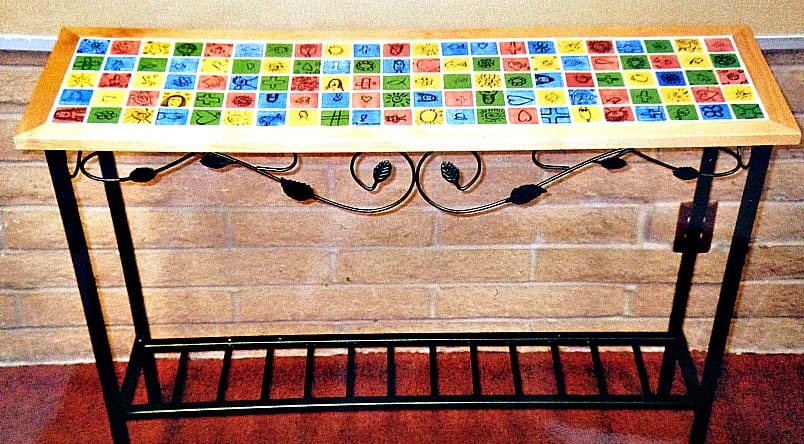

Subscribe to:
Comments (Atom)